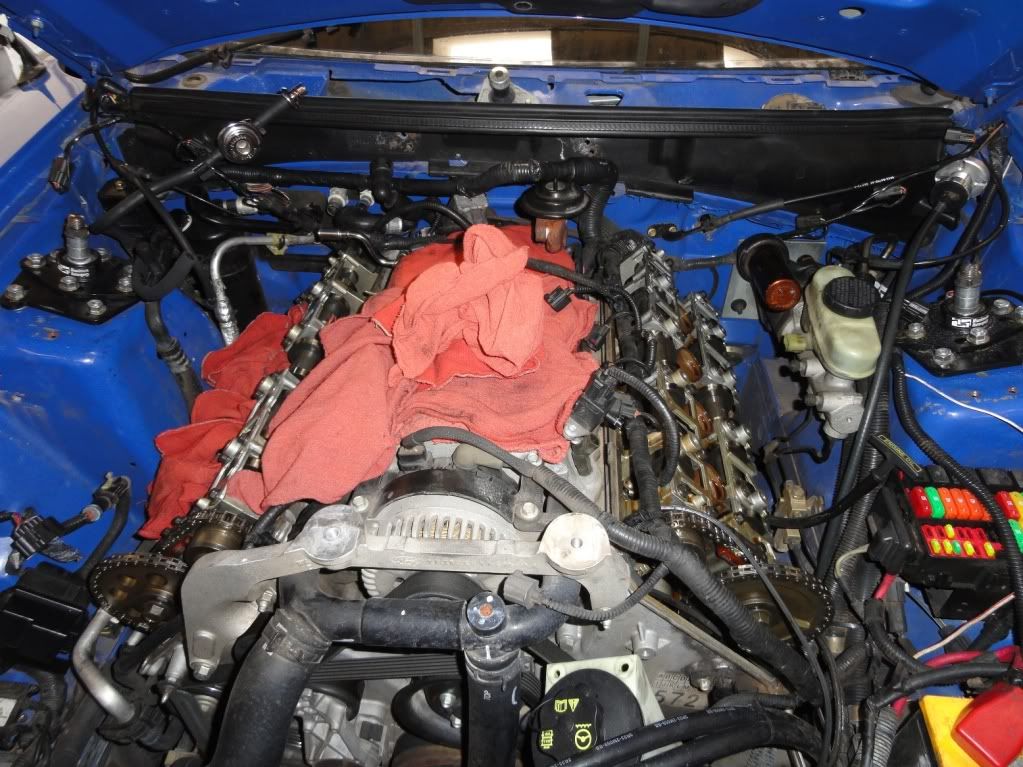
Next I took the front sway bar off, and loosened the nut on the engine mount on the passenger side, on the drivers side I took the nut off. I had one jack, and two jack stands as a safety. Since the engine is now off the support, and it is dangerous, especially when your working in a tight space, if it moves it could be the last you see of a lift or finger. So take extra precautions like I did and use jacks, jack stands, and anything you can as a safety net. I put a block of wood between the oil pan and K member, and another between the motor mount and k member. Its probably safer to remove the brake booster and master cylinder, but I didn't want to do that.
Next I took a firm block of wood and raised it up on a jack on the drivers side. I lifted it at the spot were the oil pan bolts are at on the drives side front corner. This allows the engine to tilt high enough to clear the master cylinder and brake booster. Checked how far it had tilted to make sure the engine mount bolt was still lined up with its hole, I also put a metal spacer between the mount and K member in case my wood failed me, that way I wouldn't lose a limb. Be careful to treat the engine as if its could fall or move suddenly. Best to have a friend with you.
Anyways, after some jiggle work and patience. I finally got the bastard off. YAY!
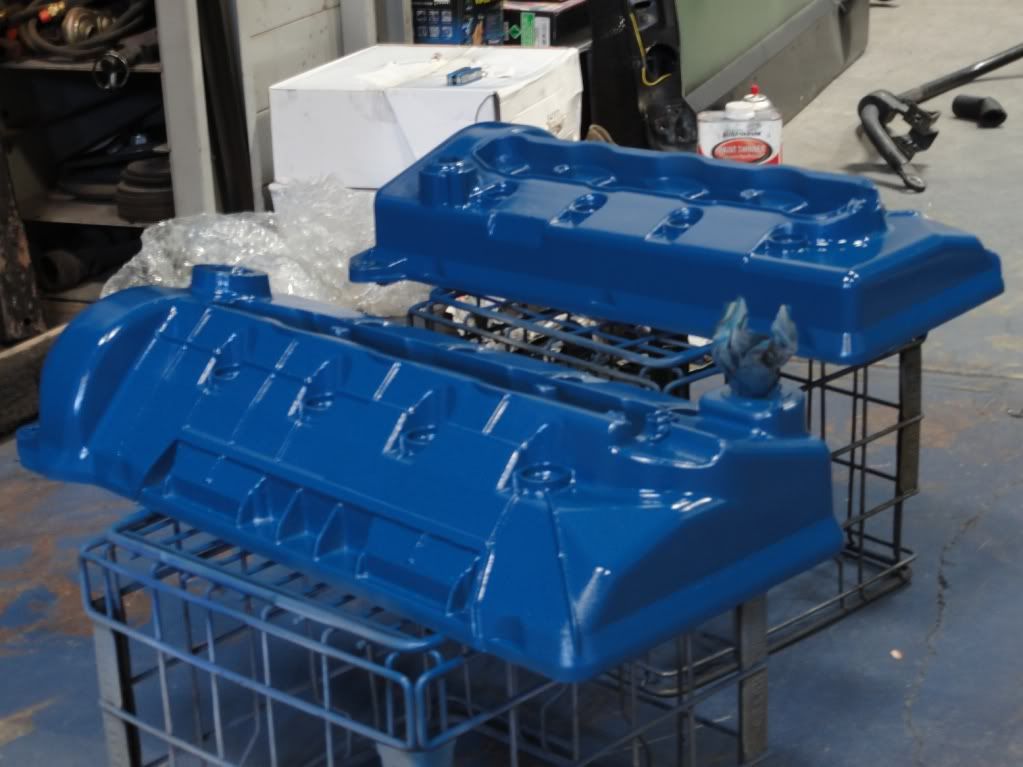
I then decided to just paint my valve covers and call it a day, since everything went well. I'll put the cams in tomorrow and reassemble.
OLD SCHOOL FORD BLUE FTW
For prep I washed it with gas and used rags first, then used some high pressure water, then used comet and soap, more high pressure water, finally used some paint thinner, let them dry, hit it was 3 coats of engine paint primer, then coats of engine ford blue.
.
.
.
.
.
.
Note on the actual cam install process
Make lots of marks to make sure you keep the timing right. I used white out, and marked the crap out of everything to make sure it goes back together correctly. I used wire to keep the timing chains snug, you don't want to slip a tooth down at the crank and start it, and realize you just bent a valve. Take your time!
To actually pull the cams off, its easy to back take off the exhaust cam bolt, then slide the exhaust gear back slightly to allow more chain slack and room. To get more slack, I compressed the chain tensioner by hand, then slide a flat head screw driver in to hold tensioner compressed. Then you are able to lift the intake cam a little bit, and slide it off the intake (secondary) cam gear. Reassemble the same way.
Depending on where the engine stopped, the cam might not want to go in flush right away. This is ok, because the lobes have to push the rockers down, so its going to be tight. Get it lined up the best you can, then use the camshaft retainers to help guide the cam into place, and tighten in the proper pattern and to proper torque specs as supplied in the manual pdf linked at the top of this thread.
If you have any questions feel free to PM me or post on this thread! Thanks!
-Aaron