I've heard many people rave about the Cobra intake cam mod. I've heard 20-25hp to the wheels from just the cam swap, and its an easy $150 mod. What I've learned is there is more to it than just swapping the intake cams, and its not just a $150 mod. And can be very frustrating with the lack of how to's, information available, and confusion. So here is a thread covering everything so the next guy doesn't have to figure out everything the hard way like I did.
I'm not degreeing or advancing the cams, just "dot to dot". I don't have the time or money for it. For the $150 I spent on the cams, I think 20hp is plenty worth it. So no rants about how you need to degree the cams please. Technically if I was a great mechanic with access to the whole world of knowledge and tools at my disposal I would do it. But I'm doing this install alone, with regular hand tools, in my garage. If your paying someone else to do it, have them degree and advance the cams. If not, just do like me and put the new ones in the same place as the old ones.
The absolute best option would be to install the intake cams, and degree all 4 cams to make sure they are in spec because from the factory our cars time cam timing is off (passenger side cams and drivers side cams are not equal), and its set for better emissions, which all sacrifices power.
If your interested in degreeing the cams, which will greatly increase your low to mid range power and increase your torque, read this thread for help:
http://www.mach1registry.org/forums/...d.php?t=114057
Quote:
Originally Posted by na svt

Advancing the cams to 110int/118exh will make a huge difference.
|
Cam degreeing instructions
http://www.compcams.com/Technical/In.../COMP4-102.pdf
LET THE FUN BEGIN!
On the list:
96 Cobra Cams, and I'm painting the valve covers blue
Supplies:
Valve cover gasket set -$55
Two 96-98 Cobra DOHC cam bolts (M12 x 1.5, 1.6in) - $25 (these are also discontinued and may be hard to come by, your only option may be ARP at $50)
Two Camshaft secondary timing gears (the 96-97 are different than the Mach, 98-01 are the same) these are discontinued according to Ford Parts online, so prepare to grind the keyways down, or maybe buy some aftermarket Cloyes gears- $60
High temp silicon to hold gasket in place while your putting it on - $10
96-98 Cobra Intake Cams - $150-$200
Custom Dyno Tune (I already had an XCAL3) - $200
Total Cost = +/- $550
______
Disclaimer: The below information is just to show what I did. It is in no way a professional guide. I am not a certified mechanic, this was my first time doing this, and technically I have no mechanical education. If you proceed to try this on your own, its at your own risk. I'm not responsible for any personal injury or further damage to you or the car. The methods used are on orthodox and dangerous.
______
Part numbers for the 96-98 Cobra cams
Passenger Intake Cam F6ZE-6A270-AA (or AB)
Driver Intake Cam F6ZE-6A271-AA (or AB)
______
96-98 Cobra Cam Duration - 204 deg
99-01 Cobra Cam Duration - 200 deg
03-04 Mach & Cobra Duration - 184 deg
______
Chossing to run the 99-01 Cobra Cams vs the 96-98.
If you choose to run the 99-01 Cobra Cams, you will be able to resuse your stock cam gears and cam bolts (although it is recommended to not reuse cam bolts once they have been torqued).
I would expect to pick up ~16hp vs the ~20hp from the 96-98 cams on a mildly modified Mach
______
Cam install guide
http://www.seanhylandmotorsport.com/...329a134229edb2
______
Other useful links
http://www.svtperformance.com/forums...s-install.html
http://www.mach1registry.org/forums/...ight=cobra+cam
http://www.mach1registry.org/forums/...ight=cobra+cam
http://www.mach1registry.org/forums/...ight=cobra+cam
http://www.mach1registry.org/forums/...a+cam+duration
______
The Dyno Results.
Here is what my car made after the install, the greatest gains are up top in the RPM range after 5,000. The stock Mach cams hit peak horsepower at 5,000 and then fall on their face, the Cobra cams build power up until 6,000 and hold it pretty well to 6500 before starting to taper significantly. Although peak hp gain is right at 20hp, the gains above 6,000 are more.
Here is a pic of my dyno graph after I got it tuned. Not bad for an intake, midpipe, and catback.
http://i182.photobucket.com/albums/x...8_july2011.jpg
Here is a tuned vs. untuned graph, I put it on no smoothing. This way you can really see the difference in how smooth and consistent the car will feel in comparison. The before tune was a good email tune for stock cams and the after tune was a dyno tune with the cobra cams.
http://i182.photobucket.com/albums/x...dvsUntuned.jpg
The Track Results
After a tune, the cams, an aluminum driveshaft, smaller slicks (26 vs 28), and a 1.67 60ft vs. a 1.75, I picked up just under 5 tenths in the quarter mile.
Sound
These cams do sound very slightly different than the stock cams. It dose not sound like a heavy cam'd car, but it does have a more aggressive idle tone.
______
Day 1
Well, I didn't get as much time as I would have liked. Got off work late. So I only had about an hour and a half of wrench time. Managed to get pretty well prepped for tomorrow. Hopefully tomorrow the valve covers will be off tomorrow afternoon.
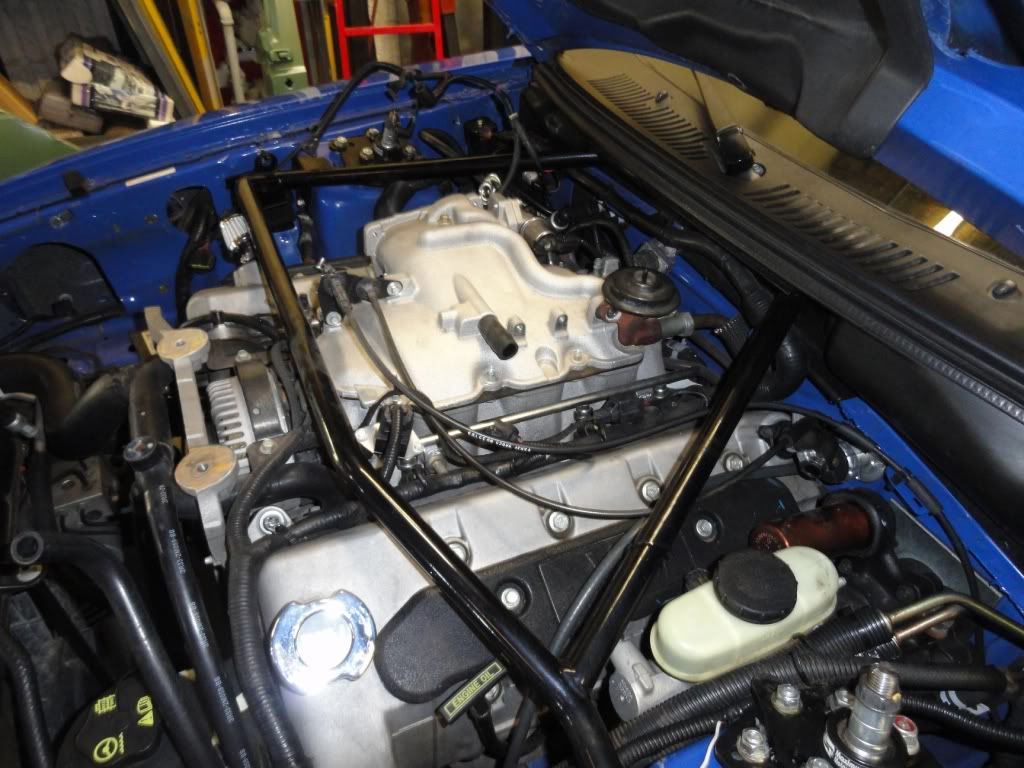
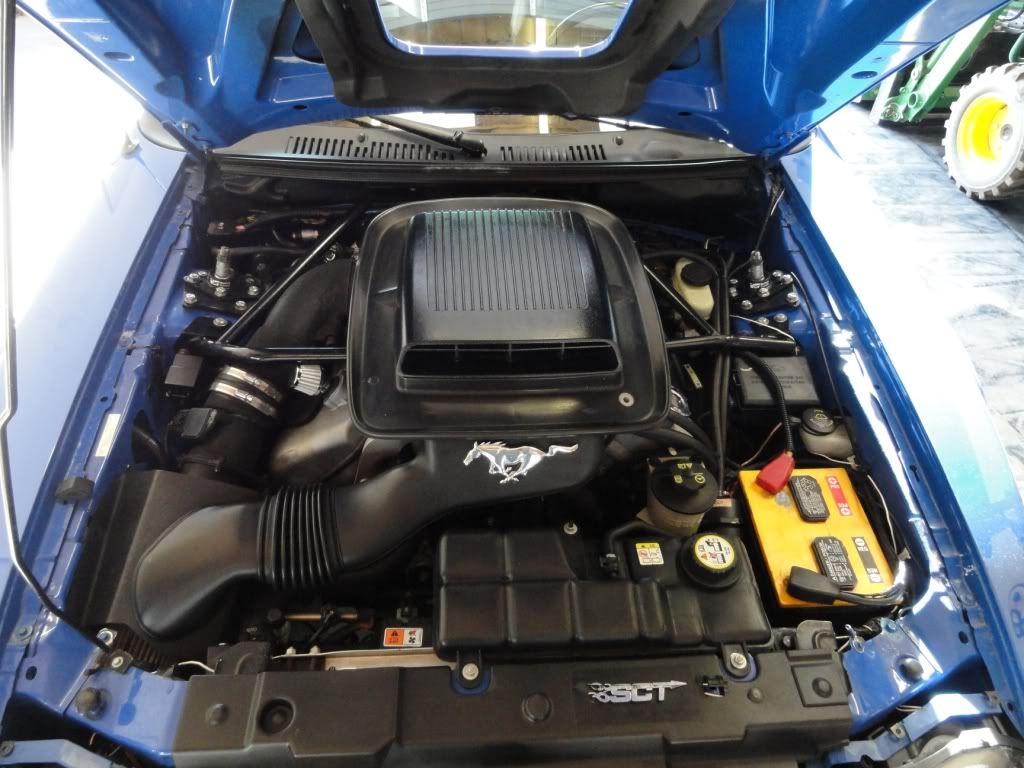
Here is how it started
Next i went ahead and took the shaker off and the intake

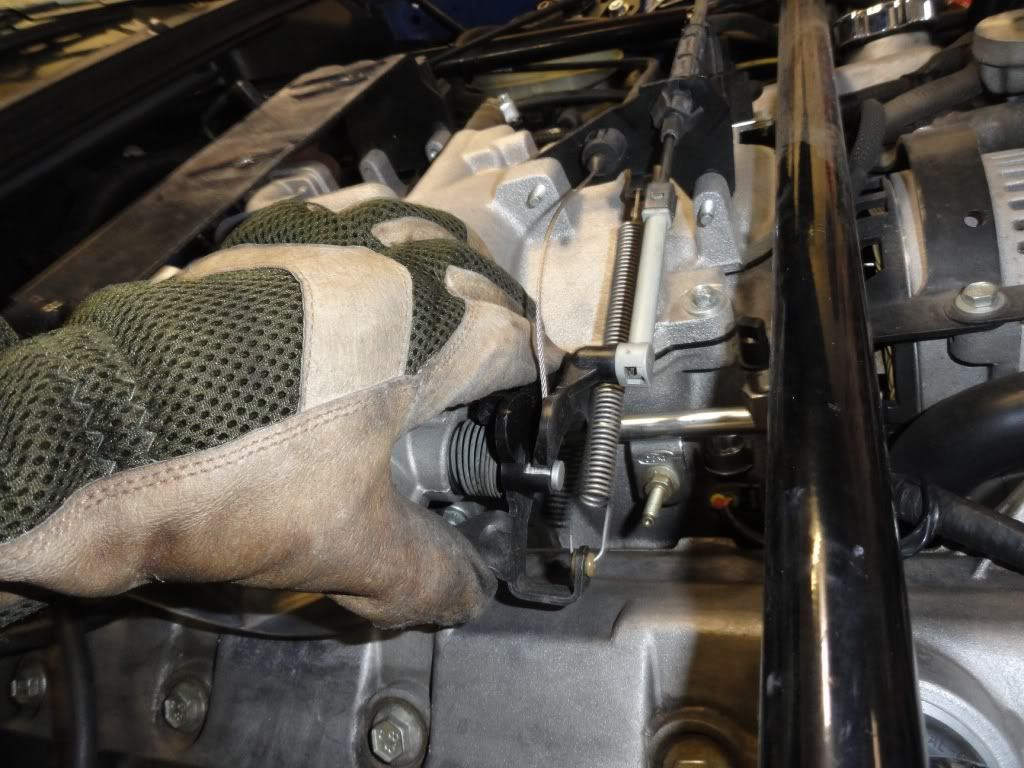
I took the throttle body off. Be sure to NOT take off your tps sensor, its the black sensor shown here. Disconnect it, but don't unbolt it form the throttle body. I learned this before when I took it off to polish the stock throttle body (mine is soo shiny and smooth haha) the TPS sensor is a total PITA to get adjusted right if you take it off. So just leave that pos where it is on the throttle body. Unplug the sensor, and call it good.

Next pull the throttle cable back to the WOT position, and take the throttle linkage off by sliding it to the side. The cruise control comes off by just pulling up on it from the position of zero throttle. Take the spring off by pulling it towards the intake manifold side, and sliding it out of the whole. After removing the 4 bolts on the TB, she will come right off. Be careful with the stock gasket. It will likely get damaged and you will need a new one if you've never taken it off before, and you are not running an oil catch can or breather for the pcv system. I'm running a breather on the passenger side, and catch can on the drivers side. So your upper intake and throttle body will be no where near as clean as mine is if your not doing the same.
You don't need to, but I started pulling the entire intake manifold off to give me extra room. I've taken the upper intake manifold off a few times so I knew this wouldn't take long. There are just a few 8mm bolts that hold it down. The EGR was challenging my first time to clear the manifold, but I think its gotten used to being moved aside, so it came off easy.